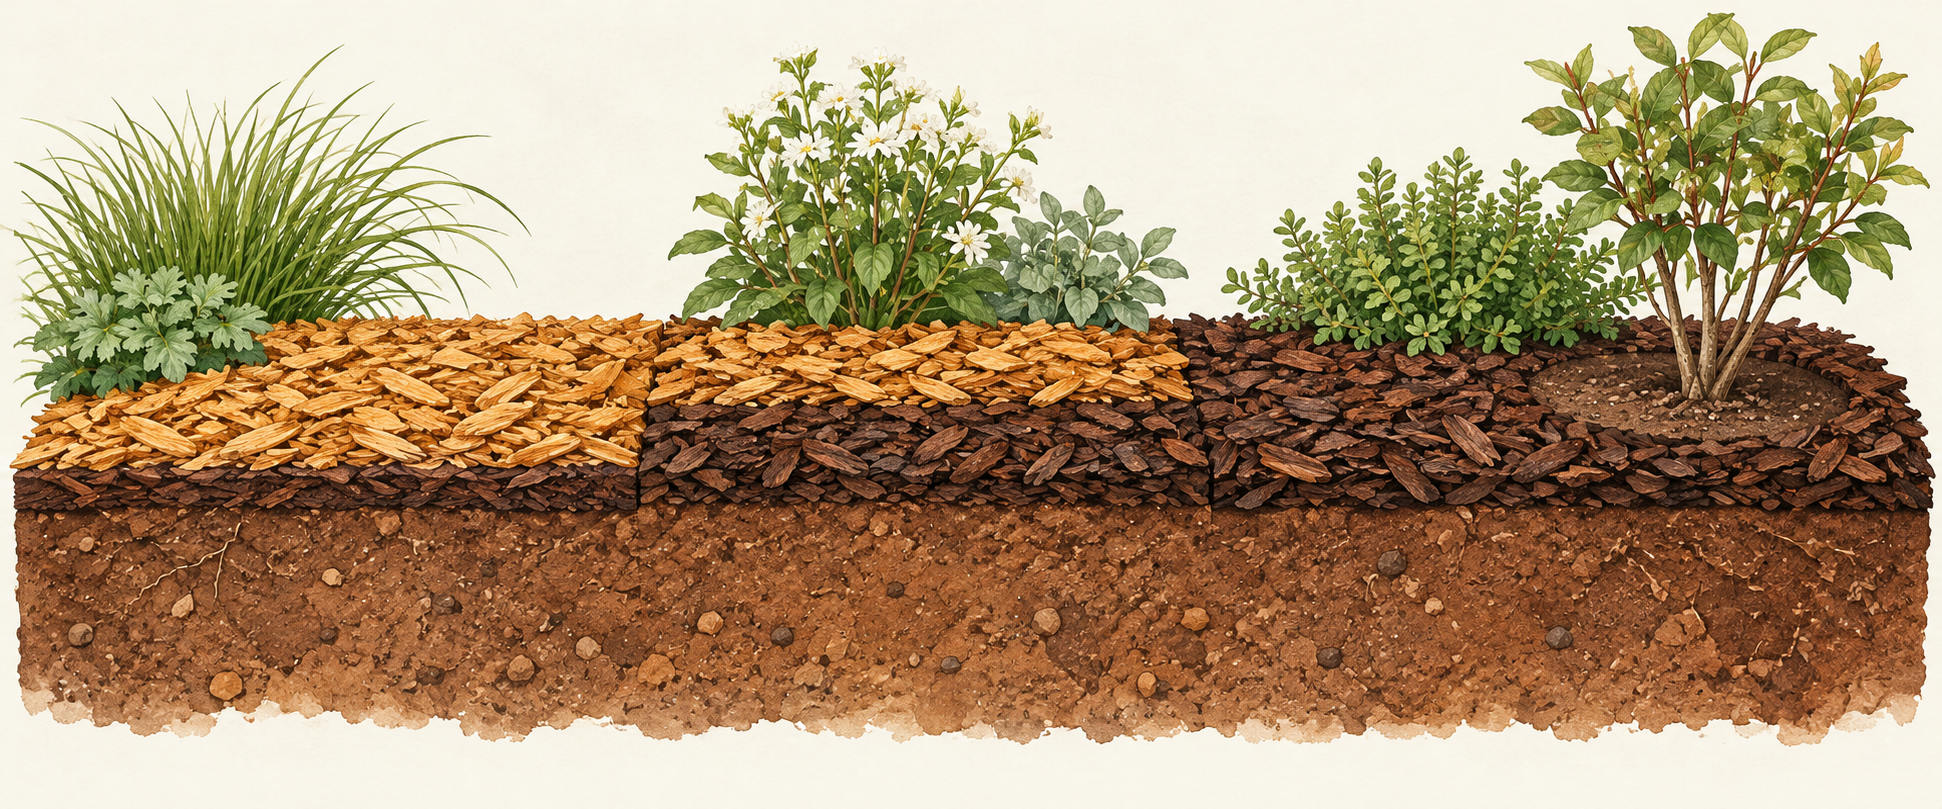
For a mulch top-up, calculate the layer you need to add, not the entire depth you want to end up with. Measure what remains, choose a suitable finished depth for your material and planting, and subtract the remaining depth. If that difference is negative, the quantity to add is zero.
Calculate the missing layer
Added depth = max(0, chosen finished depth - measured remaining depth).
This is a quantity worksheet, not a rule for how deep every bed should be. The example targets below are hypothetical inputs, not gardening recommendations.
Choose the target before calculating the order
Use guidance appropriate to the mulch, plants and conditions at your site. Clemson Extension distinguishes depth guidance by material texture and density. The RHS also gives application guidance and plant-specific cautions. Do not combine their advice into one universal target or assume that adding more mulch will improve a struggling plant. Clemson: Mulch and RHS: Mulches and mulching. Clemson states that its recommendations are for South Carolina conditions and may not apply elsewhere.
Keep the decision about the finished layer separate from the arithmetic. Write down the guidance you used and whether its depth describes the finished layer rather than the fresh material alone.
Measure the material that will stay
Make a simple worksheet for each bed or zone:
Keep mulch away from stems and do not bury low-growing plants. The RHS explicitly cautions against piling mulch against woody stems or smothering low-growing plants; Clemson also specifies clearances near woody stems and buildings. Exclude the clearance areas required for your planting and site from the measured coverage area. This worksheet does not choose those clearances for you.
- Record the area that will actually receive mulch. Exclude paths, paving and places you intend to leave clear.
- Check the remaining mulch depth at several representative points. Identify the soil surface and measure the mulch above it, rather than counting soil as retained mulch. Avoid relying on a single mound or bare patch.
- Record the readings and the remaining depth used for each reasonably even zone. If the readings differ substantially, split the bed into smaller zones instead of hiding the variation in one convenient average.
- Record the chosen finished depth in the same units, then calculate the non-negative shortfall.
- If preparation changes how much material remains, measure again before finalizing the order.
Put only the added depth into the calculator
Open the landscape materials calculator. For beds that need the same added layer, enter each area and use that common added depth. Do not enter the full finished depth when some mulch is already present.
If one bed needs a different added depth, run it as a separate group. Several area rows with one common depth cannot describe different top-up depths at the same time.
For the underlying conversions, see landscape depth and volume explained. The working formulas are:
Cubic feet = square feet × added inches ÷ 12.
Cubic yards = cubic feet ÷ 27.
Cubic metres = square metres × added millimetres ÷ 1,000.
Litres = cubic metres × 1,000.
Keep units visible on the worksheet. Square feet describe area; cubic feet describe volume. A bag labeled by weight is not interchangeable with a volume-labeled bag without suitable product information.
Worked example: two areas with one added depth
These are hypothetical quantity inputs, not recommended depths. Suppose the chosen finished depth is 2 inches and the measured remaining layer is 1 inch in both areas. The added depth is 1 inch.
The net areas, already excluding clearances, are 12 × 5 feet and 8 × 5 feet. Together they cover 100 square feet.
Base quantity: 100 × 1 ÷ 12 = 8.3333 cubic feet.
Illustrative allowance: 10%, entered visibly rather than added to the measured depth.
Planned quantity: 8.3333 × 1.10 = 9.1667 cubic feet, about 0.3395 cubic yards.
With a hypothetical 2-cubic-foot bag: 9.1667 ÷ 2 = 4.5833 bags.
Round up once to 5 whole bags, supplying a labeled total of 10 cubic feet.
The 10% allowance is an example input, not a standard loss rate or a reason to spread a thicker layer. Check the actual package volume and supplier conditions before buying.
Uneven remaining layers need separate runs
Keep the first 60-square-foot zone at a hypothetical 1-inch top-up. Suppose the other 40-square-foot zone has 1.5 inches remaining against the same hypothetical 2-inch target, so it needs only 0.5 inch.
Calculate the groups separately: 60 × 1 ÷ 12 = 5 cubic feet, and 40 × 0.5 ÷ 12 = 1.6667 cubic feet. Combined base volume is 6.6667 cubic feet. With the same illustrative 10% allowance, the combined planned quantity is 7.3333 cubic feet. If buying one shared supply of hypothetical 2-cubic-foot bags, divide the combined volume by 2 and round up to 4 bags.
Do not reuse the earlier 1-inch input for both zones. Also do not automatically add separately rounded bag counts: rounding each group independently would give 3 bags plus 1 bag here, but in other cases it can increase the purchase unnecessarily. Combine unrounded volumes before rounding when the same product can supply both groups. Keep separate purchases separate when products or package sizes differ.
Metric example: keep millimetres and litres explicit
For a separate hypothetical project, choose a 50 mm finished layer and measure 30 mm remaining in each zone. That leaves 20 mm to add. Neither depth is a recommendation.
The calculator uses centimetres in metric mode: enter 2 cm for the 20 mm added layer, not 20 cm. Two net areas of 4 × 2 metres and 3 × 2 metres total 14 square metres. The base volume is 14 × 20 ÷ 1,000 = 0.28 cubic metres, or 280 litres. A visible illustrative 10% allowance gives 0.308 cubic metres, or 308 litres.
With hypothetical 50-litre bags, 308 ÷ 50 = 6.16 bags. Round up to 7 bags, a labeled total of 350 litres. Do not round 0.308 cubic metres to a smaller display value before calculating the bags.
When the worksheet says zero
If the chosen target and measured remaining layer are both 2 inches, the shortfall is zero. If 3 inches remain against a hypothetical 2-inch target, the shortfall is still zero, not a negative order. Zero means only that the inputs call for no additional material. It does not establish that the existing layer is appropriate or that no corrective work is needed.
Check the shopping quantity, not just the headline number
Before ordering, keep the measured areas, remaining readings, chosen target, added-depth groups, allowance and package size together. Check whether the supplier's quantity is stated as loose volume, another delivery measure or labeled bag volume. Ask about ordering increments rather than assuming the calculator's decimal is directly orderable.
Use the landscape materials calculator to turn the measured shortfall into a planning quantity. Treat its output as an estimate. It does not diagnose drainage, set a suitable mulch depth or guarantee plant health.
Practical takeaway
Measure what remains, calculate only the missing layer, group different added depths separately and round the purchase visibly at the end.
Sources and further reading
Related mulch, soil & gravel guides
Cubic yards to tonnes: ordering landscape materials
Convert a landscape volume into an estimated weight using the supplier’s bulk density, with clear units, an example and questions to ask before delivery.
Landscape depth and volume explained
Convert bed area and installed depth into bags, cubic yards, or cubic metres.
Bags versus bulk landscape delivery
Compare usable volume and total delivered cost instead of package sticker prices.